Social Icons

Showing posts with label Linux. Show all posts

Sunday, December 12, 2021

Multichain : How to Connect-Receive-Send to a Blockchain node?

Continuing from the first video that was peculiar to basic instruction and installation of Multichain blockchain platform on Node A, this video moves further by connecting another node B. Node B is a independent node on the network in which the Multichain blockchain application is already installed exactly with the steps seen in the first video of Multichain playlist . The set of commands used in this videos are available as below:

Node A 
First command onwards 
multichain-util create nutsbolts 
multichaind nutsbolts -daemon 
 
 Node B multichaind nutsbolts@192.168.10.19:4265 (IP is as I have configured and you are free to choose ur configuration as u wish) and you will get a unique address starting with 1...... 
 
Node A multichain-cli nutsbolts grant 1... connect send receive (Here with you grant exclusive permission to Node B from Node A Node B 
 
multichaind nutsbolts -daemon (Now the blockchain network will be seen connected to) 
 
To get into interactive shell mode simply type this command at both the node terminals 
 
multichain-cli nutsbolts 
and then on either terminal use the following commands to get useful info of the created blockchain and network peers 
 
getinfo : See a list of all available commands: 
help : Show all permissions currently assigned: 
listpermissions : List the addresses in the wallet: 
listaddresses : For each node, get a list of connected peers: 
getpeerinfo: Get peer info of connected nodes


Multichain Blockchain Platform: Brief Introduction & Installation

This video gives a minimal few minutes introduction to the Multichain blockchain platform followed by quick installation on an Ubuntu 20.04 OS terminal. This is one of the easiest platforms to play with and understand in much better way the mechanics of blockchain. Primarily CLI based, this video installs the multichain with few commands.


Tuesday, June 08, 2021

MERGING PDF: UBUNTU 20.04 LTS

This small post shares a one line command in Ubuntu terminal to merge to PDFs. While for the regulars,merging the same online would seem to be the quickest and the best but there are times when you wish your PDFs are not compromised by third party websites offering these mergers for free...so why not use a one line command with the help of a tool pdftk.

The command to install the same is 

sudo apt-get install pdftk

and the command thereafter to merger the PDFs like three files 1.pdf, 2.pdf and 3.pdf is as seen below:

 pdftk 1.pdf 2.pdf 3.pdf cat output 4.pdf

where 4.pdf is the merged final output file.

That's all...no third party website reliance for private files.

Wednesday, January 20, 2021

Ubuntu 20.04 LTS brightness control with command line[SOLVED]

While I moved my kernel face from 18.04  to 20.04 LTS,there were few irritants while I got adapted to new interface and features…and one of them was the missing brightness tab in Ubuntu 20.04 LTS. Don’t know why it was removed,but then may be a small community used it and so was discontinued. So I tried third party plugins, few new brightness apps also tried brightness controller but somehow was not happy with the desired screen brightness control.Though Ubuntu 20.04 has night light feature wherein you can tweak with color temperatures from  less warm to more warm but that too fall short of my requirement. So I just wanted a clean hassle free solution. So I got to know about the xrandr command. Xrandr is used to set the size, orientation and/or  reflection  of  the outputs for a screen. It can also set the screen size. 

The good thing is that this utility comes pre-installed with the OS. You just need to use it vide few command line inputs and these are as below:

The first command is

xrandr | grep " connected" | cut -f1 -d " "


This command basically gives you an output of the name of your monitor. In my case it gives HDMI-0.
 
After this command you need to use the same command with different switch and adjusting the brightness to suit your eyes. While 1 refers to highest brightness 0.1 refers to the lowest.So in bright rooms if you wish to set like me,I generally prefer 0.7.The command line goes like this:

 xrandr --output HDMI-0 --brightness 0.7

Other functions that this utility can assist you are with setting resolution and refresh rates. The command lines are mentioned below:


SETTING RESOLUTION

xrandr --output HDMI-0--mode 1680x1050

SCREEN REFRESH RATE

xrandr --output HDMI-0--mode 1680x1050 --rate 60.00

Another switch –q will query your monitors and give details as seen below


 Just remember to change your screen name as per your monitor name...in my case like I said...it is HDMI-0.

Wednesday, April 29, 2020

Reset Ubuntu 18.04 LTS to original state

Invariably for Ubuntu users there are times when there is a need felt to get back to the original state of Ubuntu as it was at the time of fresh install.This post shares steps and screen shots to achieve the same with the help of a small tool known as RESETTER.


- After download,just double click the file which is most likely downloaded in the Downloads folder unless otherwise configured.

After double clicking it will take few minutes to install.

After installing just go to the terminal and type sudo resetter

That's all...the above steps have been shown below as screen shots..step wise

The site from where the file to be downloaded named resetter_3.0.0-stable_all.deb
 File seen in the downloads folder
 Double click the same and we get the software install notification window
 Installing after punching password as aksed

 At the terminal type sudo resetter
 There comes the resetter GUI...and u r ready to go
 Thanks

Sunday, March 01, 2020

Install "golang-github-gorilla-mux-dev" package :Ubuntu 18.04 LTS

Single line command at terminal

sudo apt-get install -y golang-github-gorilla-mux-dev


Install "golang-github-joho-godotenv-dev" package: Ubuntu 18.04 LTS

Single line command

sudo apt-get install -y golang-github-joho-godotenv-dev


Installing GO in Ubuntu 18.04 LTS

M sharing here only the terminal commands for installing GO in Ubuntu 18.04...followed by checking whether it is working or not....

Commands as follows in yellow :


Download the recent tar...herein it is go1.14.linux-amd64.tar.gz

Further to this untar the same...and move the files to /usr/bin

sudo tar -xvf go1.14.linux-amd64.tar.gz
sudo mv go /usr/local
cd /usr/local/
sudo chown -R root:root ./go

Using gedit or any other vi/vim editor, open the ~/.profile file and append the following lines at the bottom :

export GOPATH=$HOME/go
export PATH=$PATH:/usr/local/go/bin:$GOPATH/bin

Save and load the commands vide the following command

source ~/.profile

Now create a new directory

mkdir GOLA

Within this create /src/welcome and within that directory copy and paste the contents of the file below

mkdir -p GOLA/src/welcome && cd GOLA/src/welcome
touch welcome.go
gedit welcome.go 

add the following lines here in this file

package main
import "fmt"
func main() {
    fmt.Printf("welcome to go world\n")
}
 

and save above followed by build and running the file

go build

./welcome
message should be displayed welcome to the go world

Wednesday, December 04, 2019

METAHASH WALLET INSTALLATION : UBUNTU 18.04 LTS

The following blog post shares few screen shots to installation of metahash wallet.The first step needs to go to https://metahash.org/ and then click the appro download as per the OS of the user.In my case I have a Ubuntu 18.04 LTS,so I download the bin file and the rest action follows as per the screen shots below which are all self explanatory.


 this is followed by simply executing the file on the terminal with sudo rights ie sudo ./Meta*.bin


Monday, October 07, 2019

SUBLIME editor installation in UBUNTU 18.04 LTS

1. Sublime Text is a proprietary cross-platform source code editor with a Python application programming interface. It natively supports many programming languages and markup languages, and functions can be added by users with plugins, typically community-built and maintained under free-software licenses.The installation part of the same on Ubuntu will just take few commands as seen below and the sublime editor will be ready to go.The commands are listed below : 

First step

wget -qO - https://download.sublimetext.com/sublimehq-pub.gpg | sudo apt-key add -
(click on image to enlarge)
 Second step


echo "deb https://download.sublimetext.com/ apt/stable/" | sudo tee /etc/apt/sources.list.d/sublime-text.list

(click on image to enlarge)


Third step

sudo apt update 

(click on image to enlarge)


Fourth step

sudo apt install sublime-text

(click on image to enlarge)

and you are ready to work on sublime

(click on image to enlarge)

Wednesday, February 13, 2019

SPLIT LARGE FILES INTO SMALLER PARTS & MERGE : FOR EASY MIGRATION in LINUX SYSTEMS

1.    Routine troubleshooting in system handling gives us a way to explore and try new options.Recently tried a new way to migrate large files(around ~17 GB in my case here ). Although there are easier options available by simply copying in a external device,but in my case external devices were not allowed so attempted to split the large file into 3 GB size files and then finally could merge them....and could also verify the hash....and it was absolutely right...sharing few screen shots :

2.    The entire thing of splitting and merging gets over in simple two commands of SPLIT & CAT

 > split -b file.name
 > cat x* > file.name

3.   I have a .vdi virtual image file which is approx 16 GB in size.The file details are seen in the screen shot below :


Here ..before I go for the split...I have taken the hash of the same to compare it later after i merge the split parts...to check the originality of files and I get the hash of the file as bb867749cf4c0325abe145a0998e3b04


In the screen shot below I use the split command,which is inbuilt to UBUNTU and typically all Linux systems....I split the file in 3GB parts...


This screen shot shows the watch screen shot of the populating split parts...


 This screen shot shows the watch screen shot of the populating split parts...


 and here i get the final .vdi file as well m able to match the hash as same ie bb867749cf4c0325abe145a0998e3b04


Sunday, January 13, 2019

Mayan EDMS : Opensource Document Management System : Installation UBUNTU

1.   Mayan EDMS is a web-based free/libre document management system for managing documents within an organization and all functionality is available in its free public version.Mayan EDMS is an electronic vault for your documents. Mayan EDMS has advanced search and categorization capabilities that helps reduce the time to find the information anyone needs. It is free open source and integrates with existing equipment, that means low to no initial investment, and even lower total cost of ownership, reducing operational costs has never been this easy.

2.     This post gives a screenshot reference for installation on a Ubuntu machine.The installation is simple and self explanatory.The list of commands involved too is mentioned below:


Friday, March 30, 2018

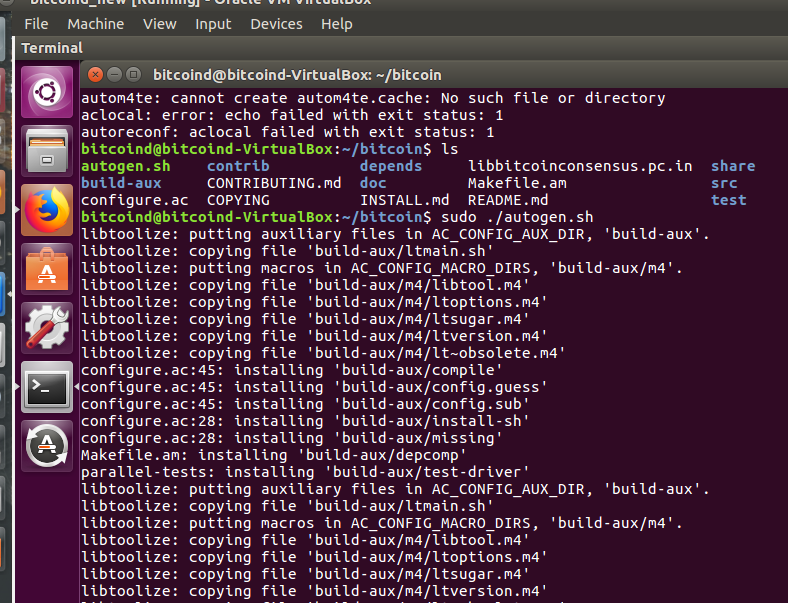
Compiling Bitcoin Core Source Code : Ubuntu 16.04 LTS


1.   Bitcoin Core is the reference implementation of bitcoin and anyone ON with any projects around bitcoin would need to compile the bitcoin source code to create the bitcoind for his/her own node. Ubuntu is usually the operating system recommended to run Bitcoin Core.This post will build upon with screenshots as done and terminal commands as executed to compile the same vide GIT.

2.  The machine I have used here is a Ubuntu 64 bit running on a virtual box platform with the following details as seen in the screenshot :

Now on I will just share the terminal commands as i executed in the terminal :

sudo apt-get update

sudo apt-get upgrade


sudo apt-get install git


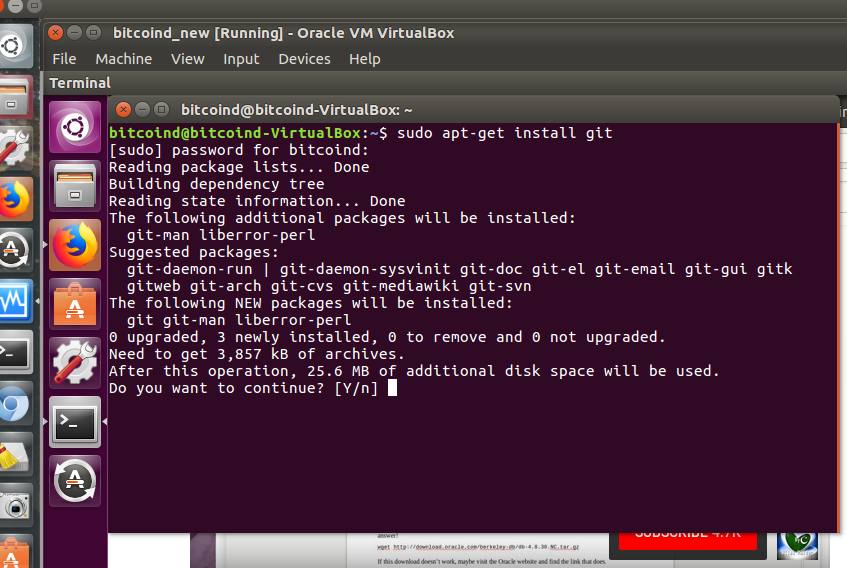
Search for Bitcoin github and click the first link as seen below :


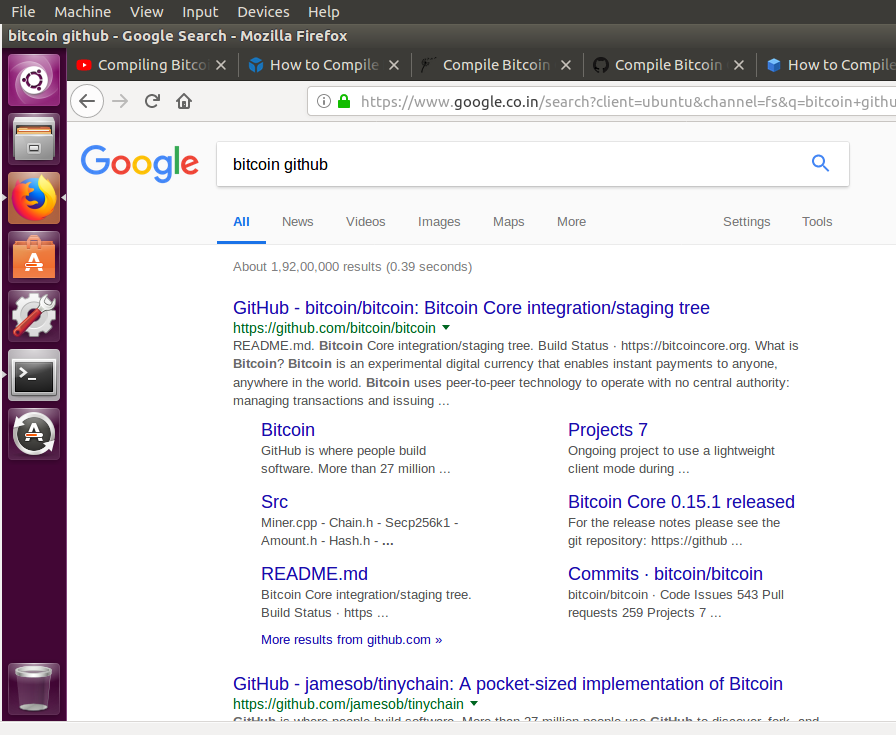
Goto the link as seen below at https://github.com/bitcoin/bitcoin/blob/master/doc/build-unix.md


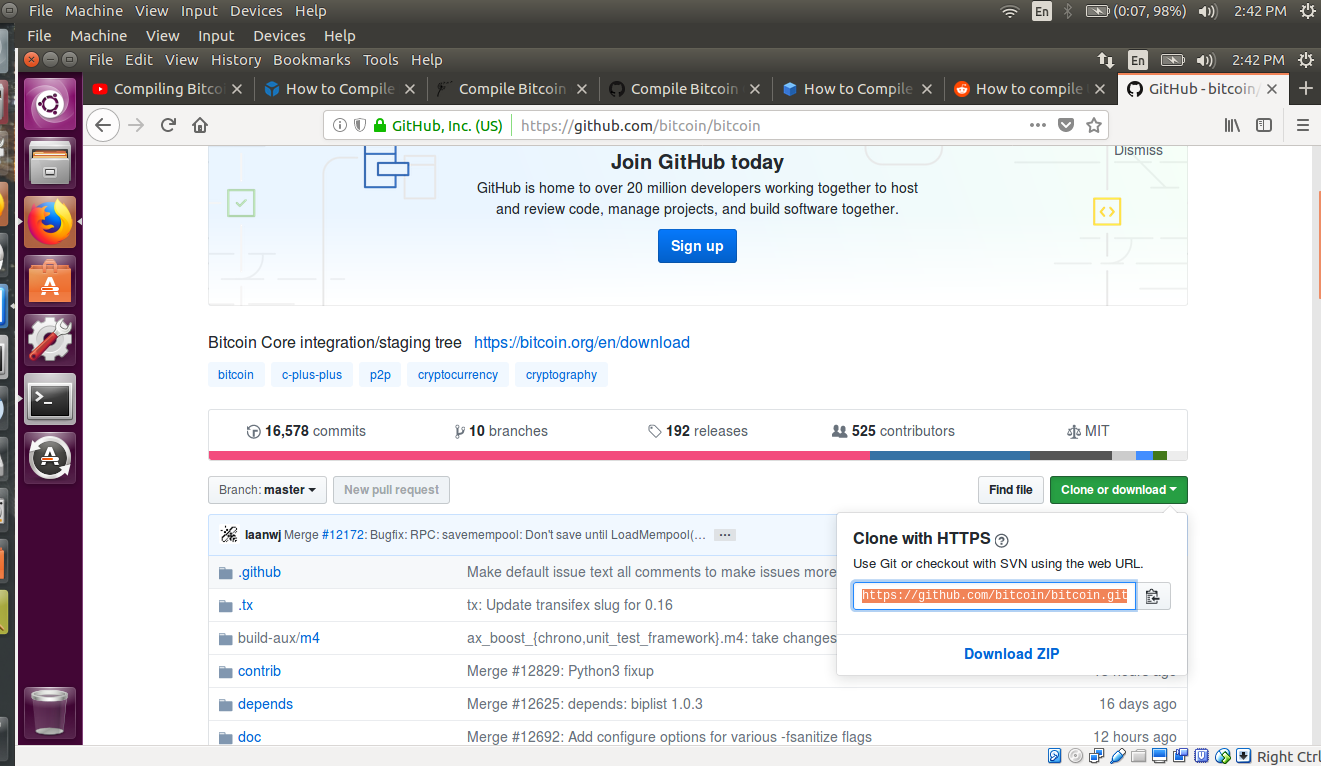
sudo git clone https://github.com/bitcoin/bitcoin.git


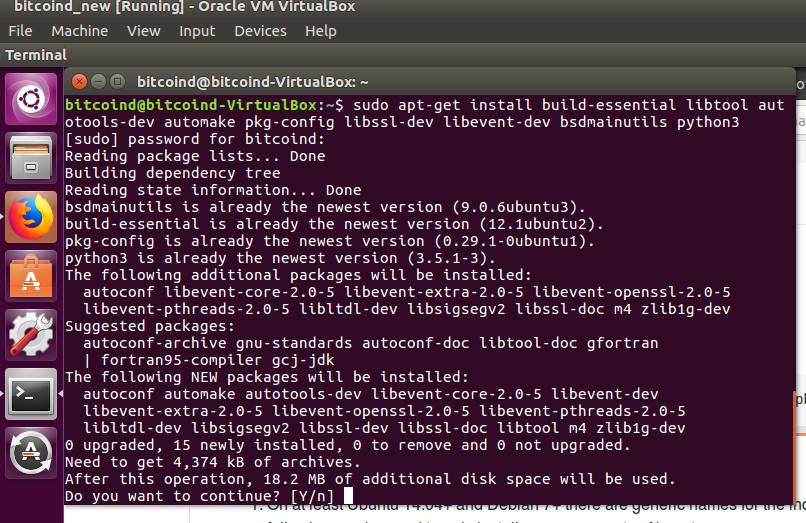
sudo apt-get install build-essential libtool autotools-dev automake pkg-config libssl-dev libevent-dev bsdmainutils python3


sudo apt-get install libboost-system-dev libboost-filesystem-dev libboost-chrono-dev libboost-program-options-dev libboost-test-dev libboost-thread-dev


sudo apt-get install libboost-all-dev


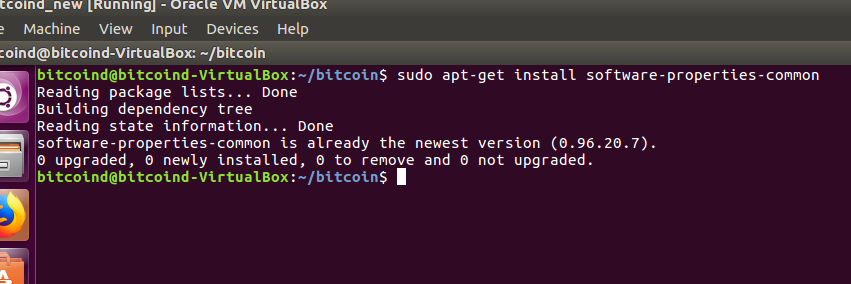
sudo apt-get install software-properties-common


sudo add-apt-repository ppa:bitcoin/bitcoin


sudo apt-get update


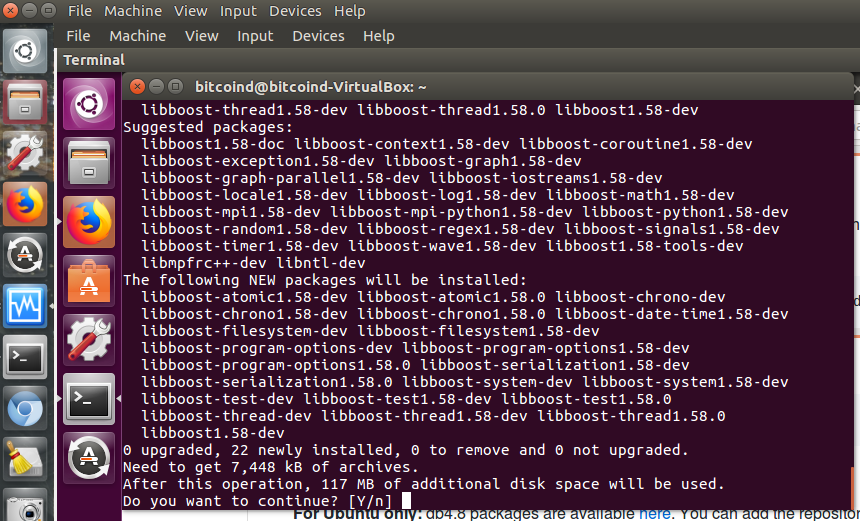
sudo apt-get install libdb4.8-dev libdb4.8++-dev


sudo apt-get install libminiupnpc-dev


sudo apt-get install libzmq3-dev


sudo apt-get install libqt5gui5 libqt5core5a libqt5dbus5 qttools5-dev qttools5-dev-tools libprotobuf-dev protobuf-compiler


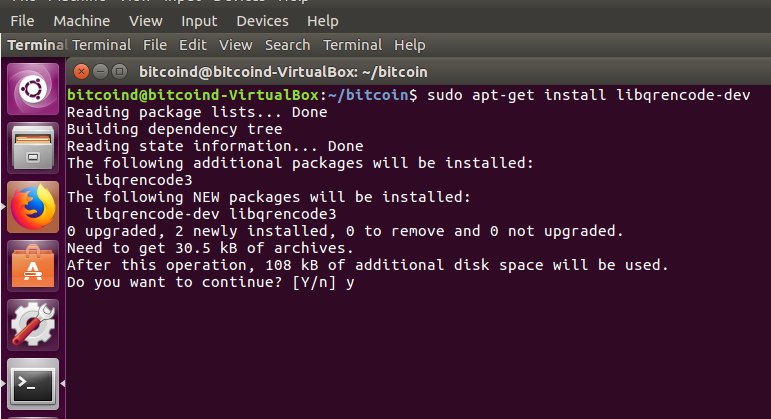
sudo apt-get install libqrencode-dev


sudo ./autogen.sh


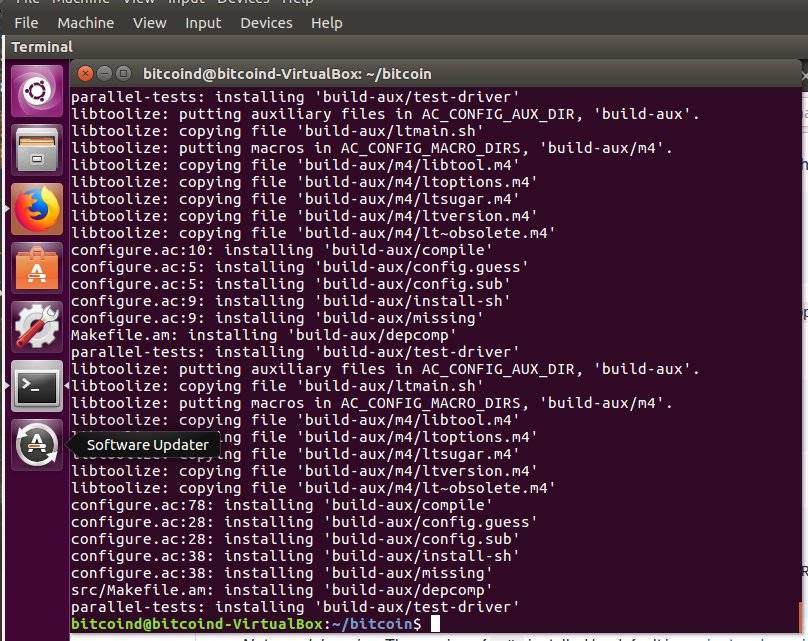
sudo ./configure --disable-wallet #


sudo make

and the last command

sudo make install


....and you r ready to go.....
Powered By Blogger