 https://orcid.org/0000-0002-9097-2246


Proof of Work (PoW) is the original blockchain consensus algorithm, and is used in projects such as Bitcoin. It is the mechanism that enables users on a blockchain network to reach an agreed ‘truth’. A proof of work is essentially an answer to a complex mathematical problem. It takes a lot of work to find the Nonce but is easy for others to validate.PoW solves the Byzantine Generals Problem as it achieves a majority agreement without any central authority, in spite of the presence of unknown/potentially untrustworthy parties and despite the network not being instantaneous.This presentation brings out the concept Byzantine Generals proof and its connect with Bitcoin.
Sunday, March 31, 2019
Wednesday, February 13, 2019
SPLIT LARGE FILES INTO SMALLER PARTS & MERGE : FOR EASY MIGRATION in LINUX SYSTEMS
1. Routine troubleshooting in system handling gives us a way to explore and try new options.Recently tried a new way to migrate large files(around ~17 GB in my case here ). Although there are easier options available by simply copying in a external device,but in my case external devices were not allowed so attempted to split the large file into 3 GB size files and then finally could merge them....and could also verify the hash....and it was absolutely right...sharing few screen shots :
2. The entire thing of splitting and merging gets over in simple two commands of SPLIT & CAT
> split -b file.name
> cat x* > file.name
3. I have a .vdi virtual image file which is approx 16 GB in size.The file details are seen in the screen shot below :

Here ..before I go for the split...I have taken the hash of the same to compare it later after i merge the split parts...to check the originality of files and I get the hash of the file as bb867749cf4c0325abe145a0998e3b04

In the screen shot below I use the split command,which is inbuilt to UBUNTU and typically all Linux systems....I split the file in 3GB parts...

This screen shot shows the watch screen shot of the populating split parts...

This screen shot shows the watch screen shot of the populating split parts...


Saturday, February 02, 2019
Test Ether Faucet : "Hello world" kind SMART CONTRACT
1. Smart Contracts are self-executing contractual states, stored on the blockchain, which nobody controls and therefore everyone can trust.Continuing ahead with the earlier post wherein we created few test ethers from the ropsten test network and then transferred few back to create some transactions.In this post we move further and create a small smart contract.
First move to https://faucet.metamask.io/
Once you connect the same with your account,your will find an open code by default.Since just the beginning,we simply delete and create a fresh new page to insert the contract code in as seen below :

Blank page as seen below :

Find the code of the file faucet.sol


Wednesday, January 23, 2019
Transactions in METAMASK:Ropsten Test Network Ethereum
1. While at https://anupriti.blogspot.com/2019/01/metamask-extension-in-chromeinstallation.html we have installed metamask,now in this post we do a transaction of ethereum.While at the beginning learning stage we ideally should not be playing with real ethers,so there is a provision to get test ethers and do some dummy transactions to get a feel of how it actually works.
Firstly,we change the network choice from the Main Ethereum Network to Ropsten Test Network as seen in the screen shot below:


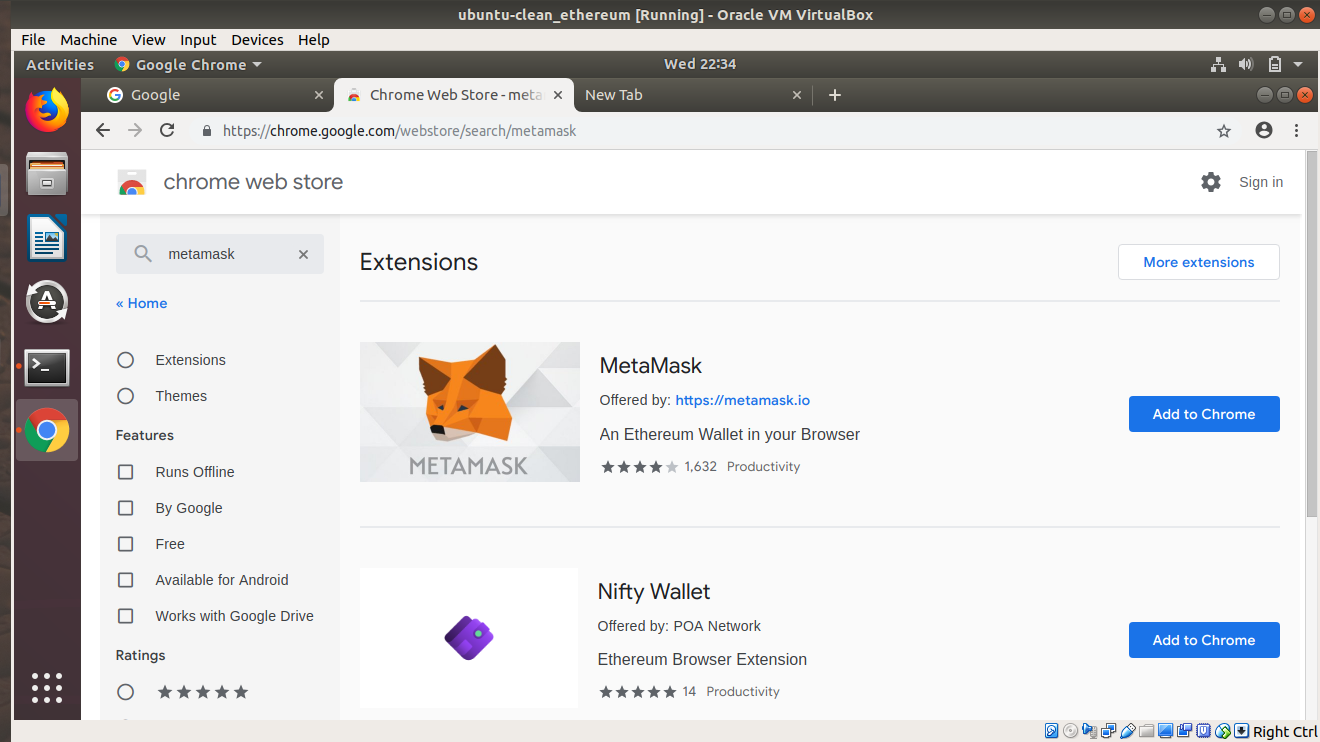
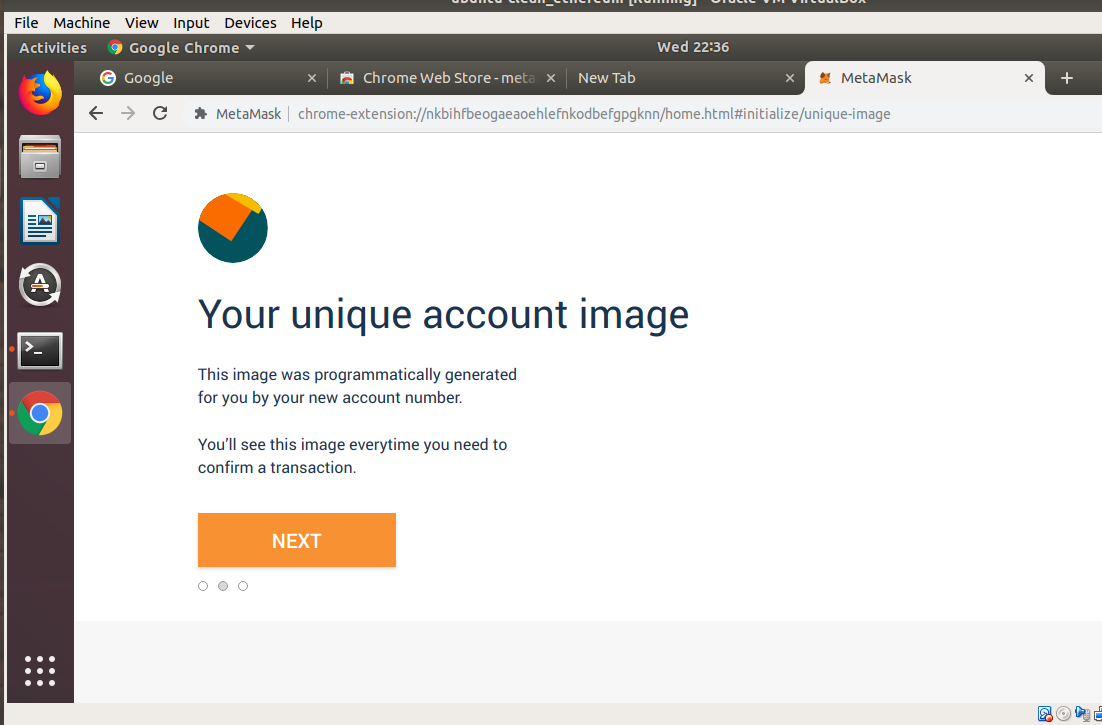
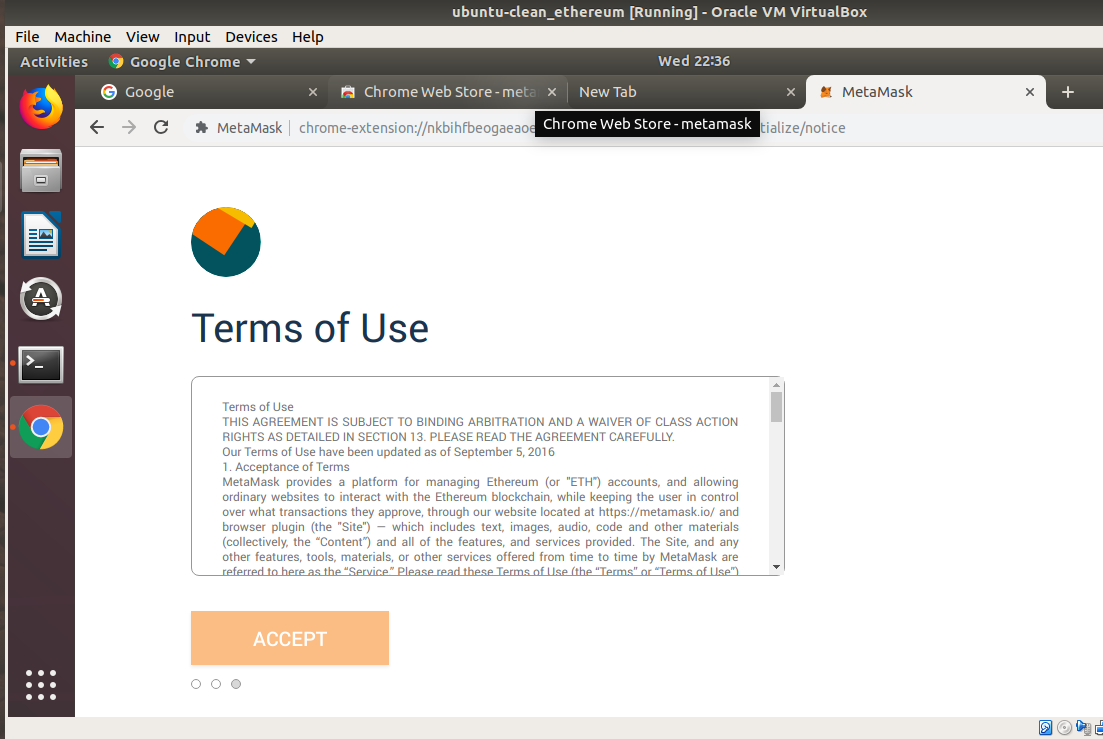
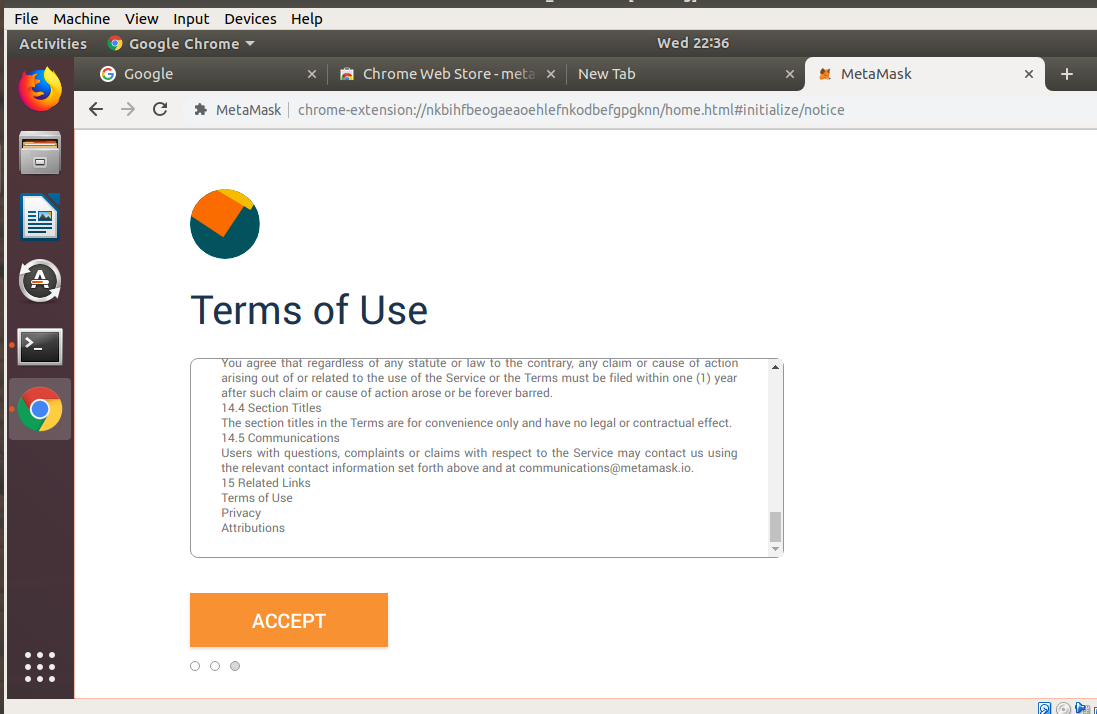
METAMASK extension in Chrome:Installation
MetaMask is a bridge that allows one to visit the
distributed web of Ethereum in the browser. It allows anyone to run
Ethereum dApps right in browser without running a full Ethereum
node.MetaMask includes a secure identity vault, providing a user
interface to manage your identities on different sites and sign
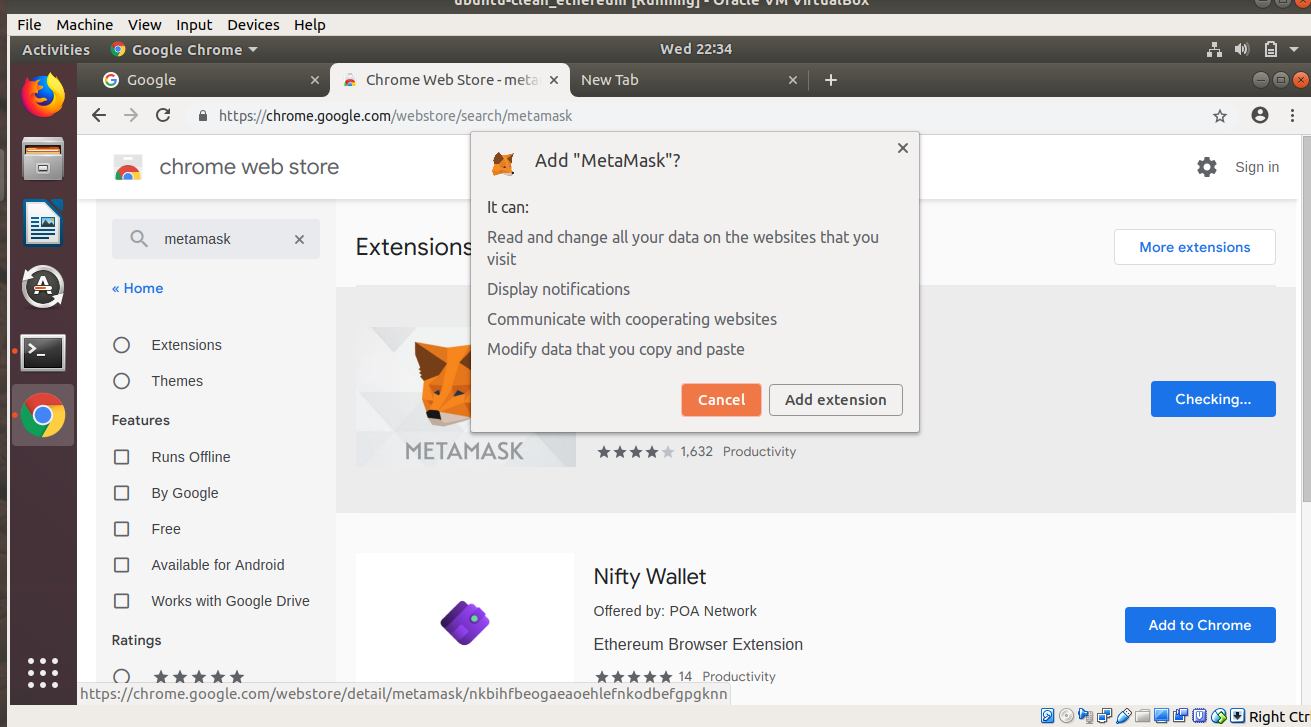
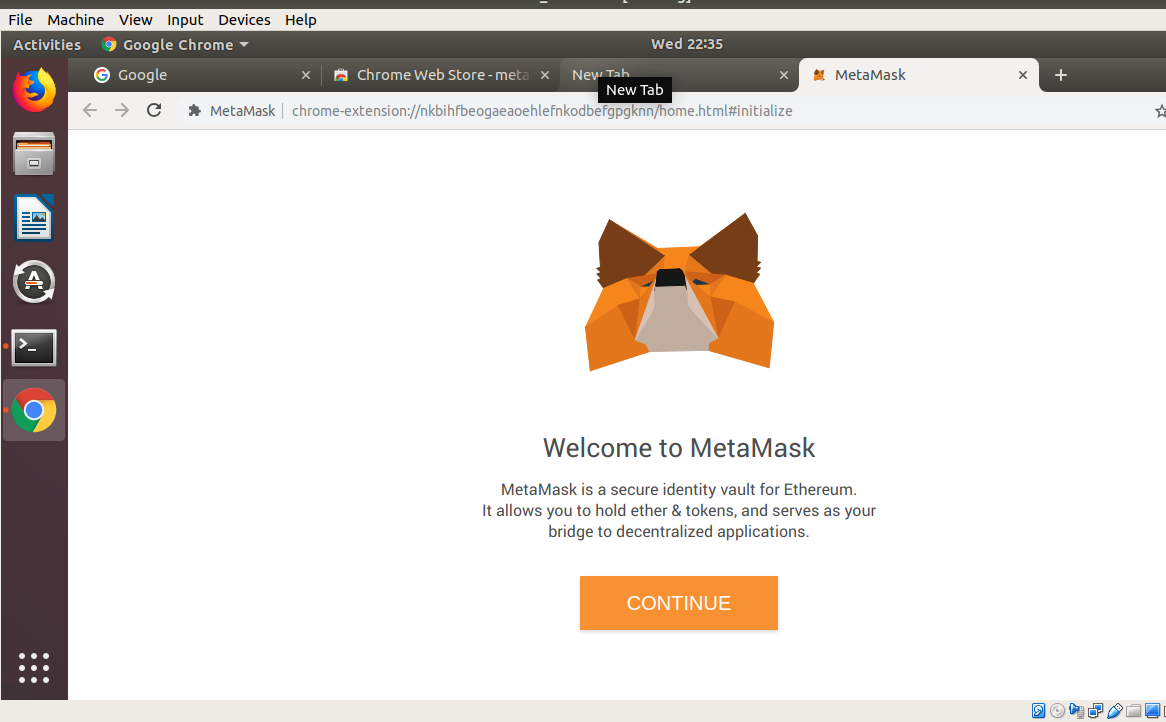
blockchain transactions.Below screen shots are self explanatory for installation of MetaMask in chrome browser.
Goto the extension link at google chrome store at https://chrome.google.com/webstore/category/extensions

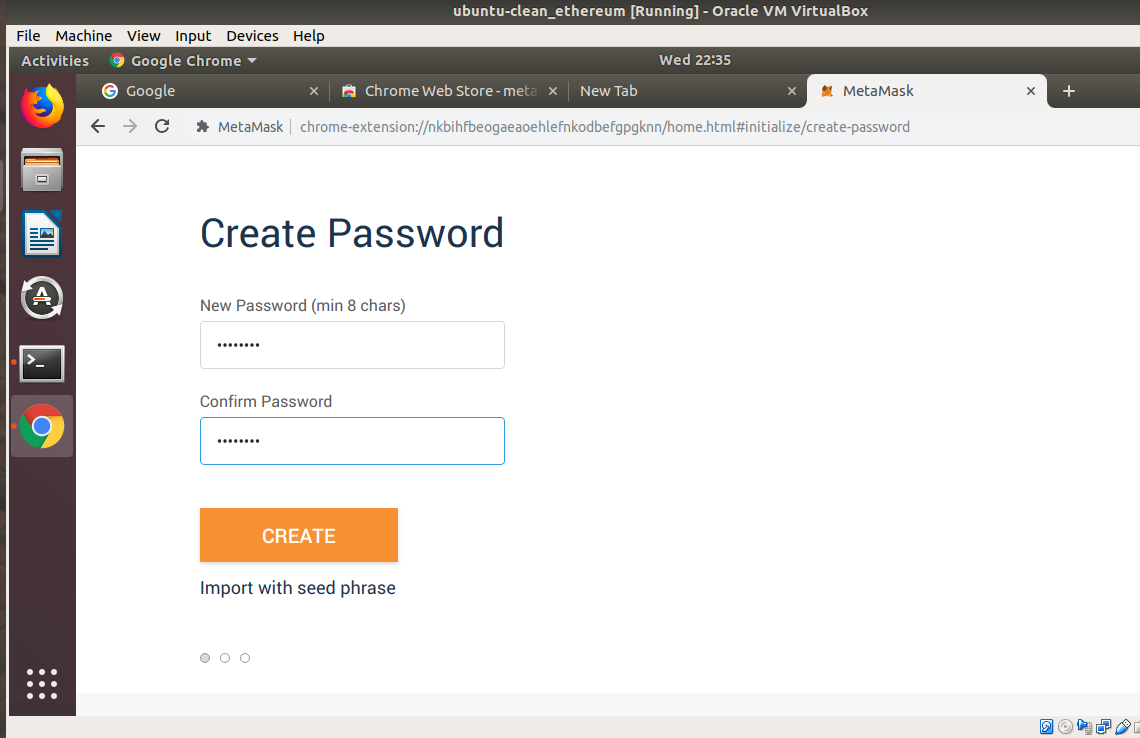


Download your phrase and store it as deemed appropriate secret location,duly encrypted ...since this single phrase will be the key to fiddle with your ethers ahead


Sunday, January 13, 2019
How to install Graylog on Ubuntu 18.04.1 LTS ?
1. Graylog2 is a powerful log management
and analysis tool that has many use cases, from monitoring SSH logins
and unusual activity to debugging applications. It is based on
Elasticsearch, Java, MongoDB, and Scala.The installation is not exactly to say simple since a lot of integration goes behind involving different applications including Elasticsearch, Java, MongoDB, and Scala. But in few steps and little modifications in default configuration files,the same can be run with ease.
2. Below are terminal commands with screen shots to achieve the same running
Firstly,the system that I m installing the GRAYLOG on ..the specs are as below

Then coming to the root terminal...from where all the commands will be executed for installation.
$ apt update && apt upgrade

$ apt install apt-transport-https uuid-runtime pwgen openjdk-8-jre-headless

$ wget -qO - https://artifacts.elastic.co/GPG-KEY-elasticsearch | apt-key add -


Next we install
$ apt update && apt install elasticsearch

This is followed by enabling the service and starting
$ systemctl enable elasticsearch
$ systemctl start elasticsearch
|

Amend cluster.name as graylog

script.inline: false
script.indexed: false
script.file: false

This is followed by
$ systemctl restart elasticsearch

Now install the key
$ apt-key adv --keyserver hkp://keyserver.ubuntu.com:80 --recv 2930ADAE8CAF5059EE73BB4B58712A2291FA4AD5

$ echo "deb [ arch=amd64,arm64 ] https://repo.mongodb.org/apt/ubuntu xenial/mongodb-org/3.6 multiverse" | sudo tee /etc/apt/sources.list.d/mongodb-org-3.6.list

$ apt update && apt install mongodb-org


$ systemctl start mongod
$ systemctl enable mongod

$ wget https://packages.graylog2.org/repo/packages/graylog-2.5-repository_latest.deb
$ dpkg -i graylog-2.5-repository_latest.deb
$ apt-get update
$ apt-get install graylog-server


After installation of the Graylog package is finished, we need
to edit the configuration file to set our password in it and we do it using pwgen command
$ pwgen -N 1 -s 96


We place the above generated output in the conf file as seen below :


Assistance reference from https://www.osradar.com/how-to-install-graylog-on-ubuntu-18-04/ - Thanks
Subscribe to:
Posts (Atom)

